The Home Screen and Preferences
Upon launching Serial Loops, you'll see the following screen:
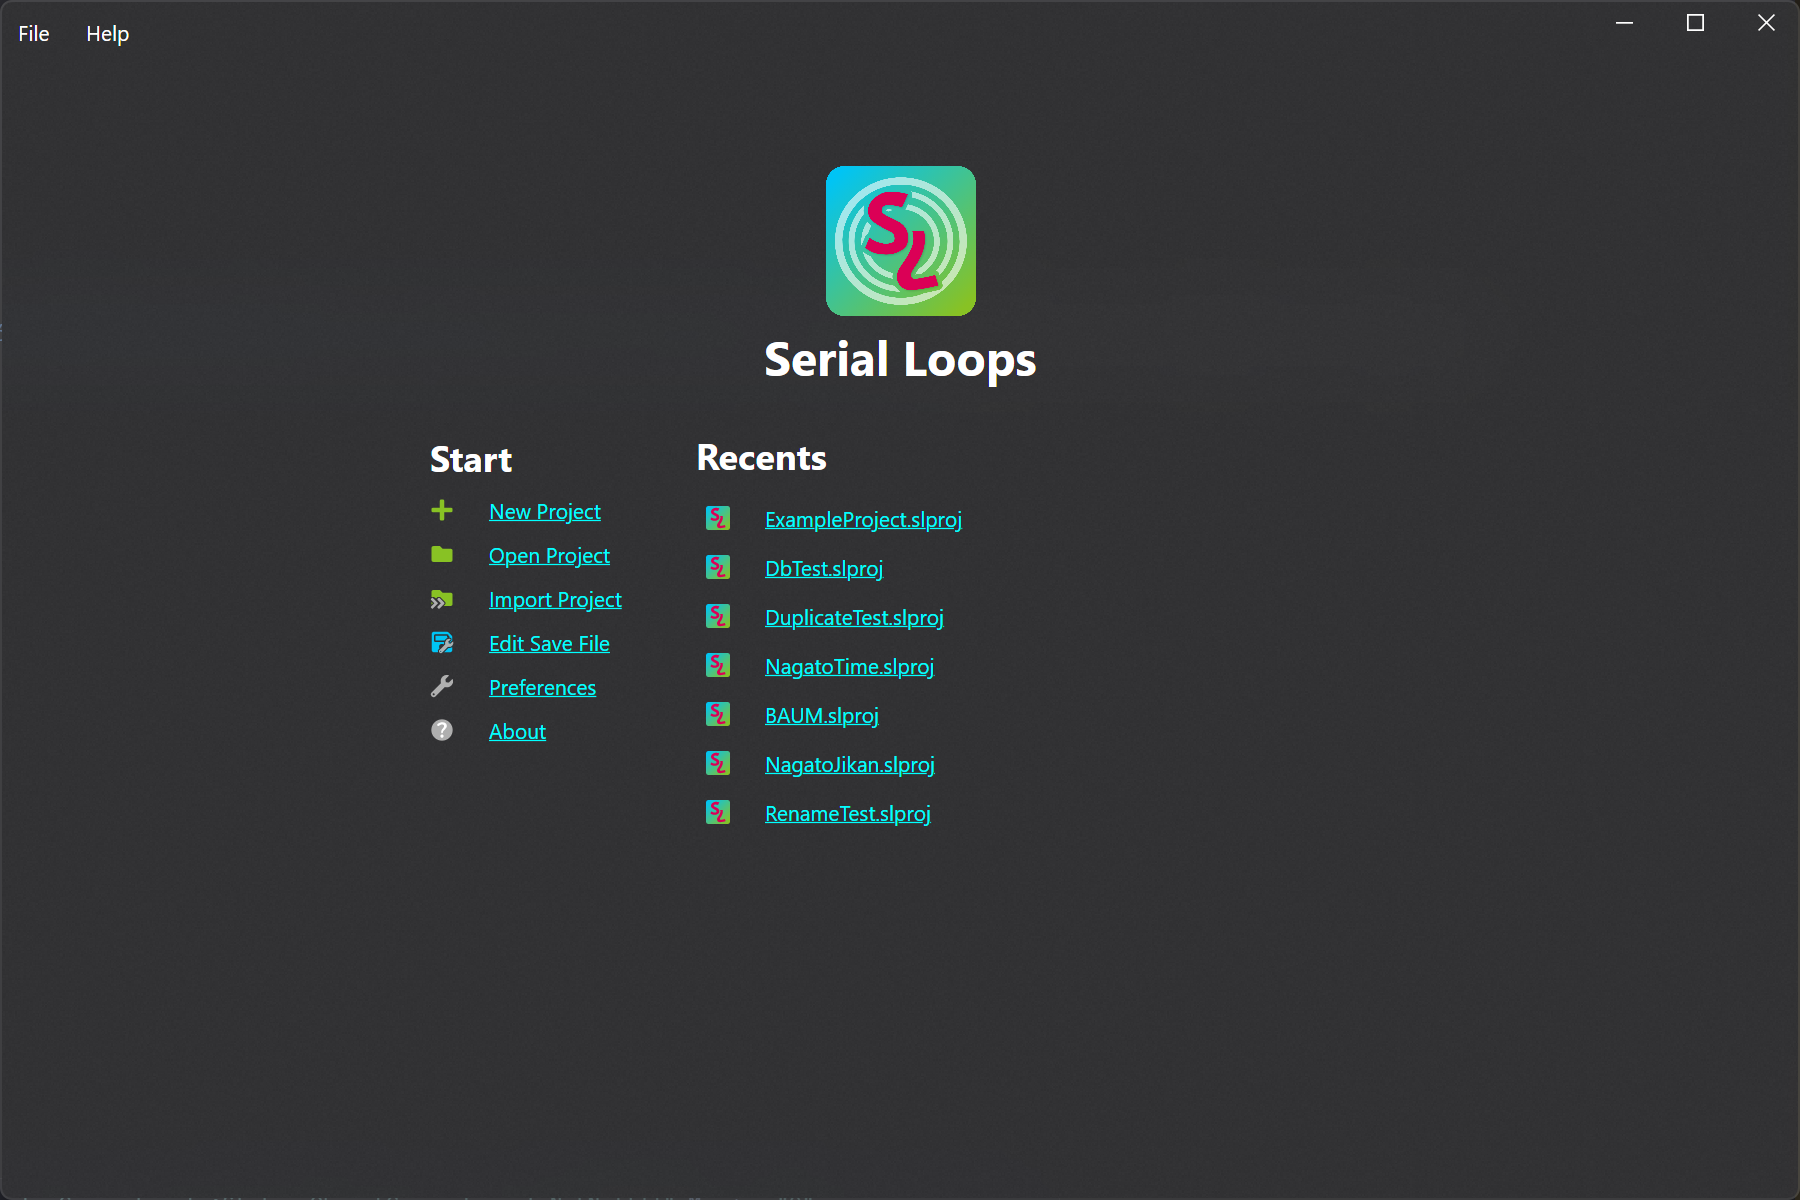
This is the main home screen for Serial Loops. Before you do anything else, we should go to File → Preferences (or SerialLoops → Preferences on macOS) or click the "Preferences" link under the Start heading.

Let's briefly go over the different settings in this menu:
Serial Loops
- Language – The display language for Serial Loops. Serial Loops is written in English, and the English (United States) version is used as the base for all other languages. If you'd like to contribute to translating Serial Loops, get in touch with us!
- Display Font – The font used by the Serial Loops UI.
- Check For Updates On Startup – Will check GitHub for new releases of Serial Loops on startup. Highly recommended to leave this option checked. (On the Flatpak release, this option is disabled as the program will get updates directly from Flathub.)
- Use Pre-Release Update Channel – Will use our nightly builds as the source for updates. Highly recommended to leave this option unchecked. (On the Flatpak release, this option is disabled as the program will get updates directly from Flathub. If you want to use pre-release builds, you will need to use a release other than the Flatpak.)
Projects
- Auto Re-Open Last Project – Re-opens the last project on app start, bypassing the home screen.
- Remember Project Workspace – Re-opens all the tabs you had open when you last closed the project on re-open.
- Remove Missing Projects – Will remove missing (i.e. manually deleted) projects from the Recent Projects menu automatically.
Build
- LLVM Path – The path to your LLVM installation. Serial Loops does its best to pre-fill this for you, but if it can't find it, you will need to manually specify it here. Please note that it is expecting to be pointed to something like
/path/to/llvmand then will access/path/to/llvm/bin; therefore, if your llvm installation ends up being/usr/bin, pointing it to/usris correct. - Ninja Path – The path to your Ninja executable. Serial Loops does its best to auto-fill this, but if it can't find it, you will need to point it in the right direction.
- Emulator Path – The path to the emulator that will be used after clicking "Build & Run". Set this to your favorite Nintendo DS emulator's executable! As stated previously, our team highly recommends using melonDS. (On the Flatpak release, this option is disabled as melonDS comes bundled with the application.)
- Emulator Flatpak (Linux Only) – On Linux systems, instead of specifying the path to the emulator you can instead specify a flatpak to be launched. Serial Loops will automatically look for installed flatpaks on first startup, but otherwise, simply type the ID of the flatpak to launch here (e.g.
net.kuribo64.melonDS). (On the Flatpak release, this option is disabled as melonDS comes bundled with the application.)
After you've set your preferences, it's time to create a new project.
Creating a New Project
To create a new project, click the "New Project" link under the Start heading or go to File → New Project.
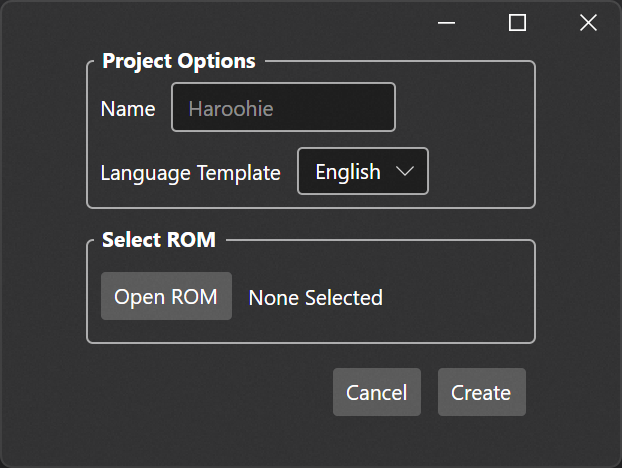
Create a name for your new project and select your project's language. (This should be the language of the base ROM you are using.) Finally, select the base ROM for your project and hit create. Serial Loops will then unpack your ROM and create the directory for your project.
A Note on Your Base ROM
It is highly recommended to use a translated ROM as your base ROM unless you are planning to make a Japanese-language project, in which case you should use the original ROM. Using the English ROM as a base is a great idea as it gives you access to all the modifications we have already made to make the game run smoothly in English (or another language that uses a variable-width script) without needing to implement those hacks manually.
Importing a Project
You may also opt to import someone else's exported .slzip project instead of creating your own from scratch. To do this, you can click the Import Project link on the home screen or navigate to File → Import Project. The exported project contains the hash of the base ROM that it was built off of; you should use the same base ROM when importing it.